
Holden HT Brougham
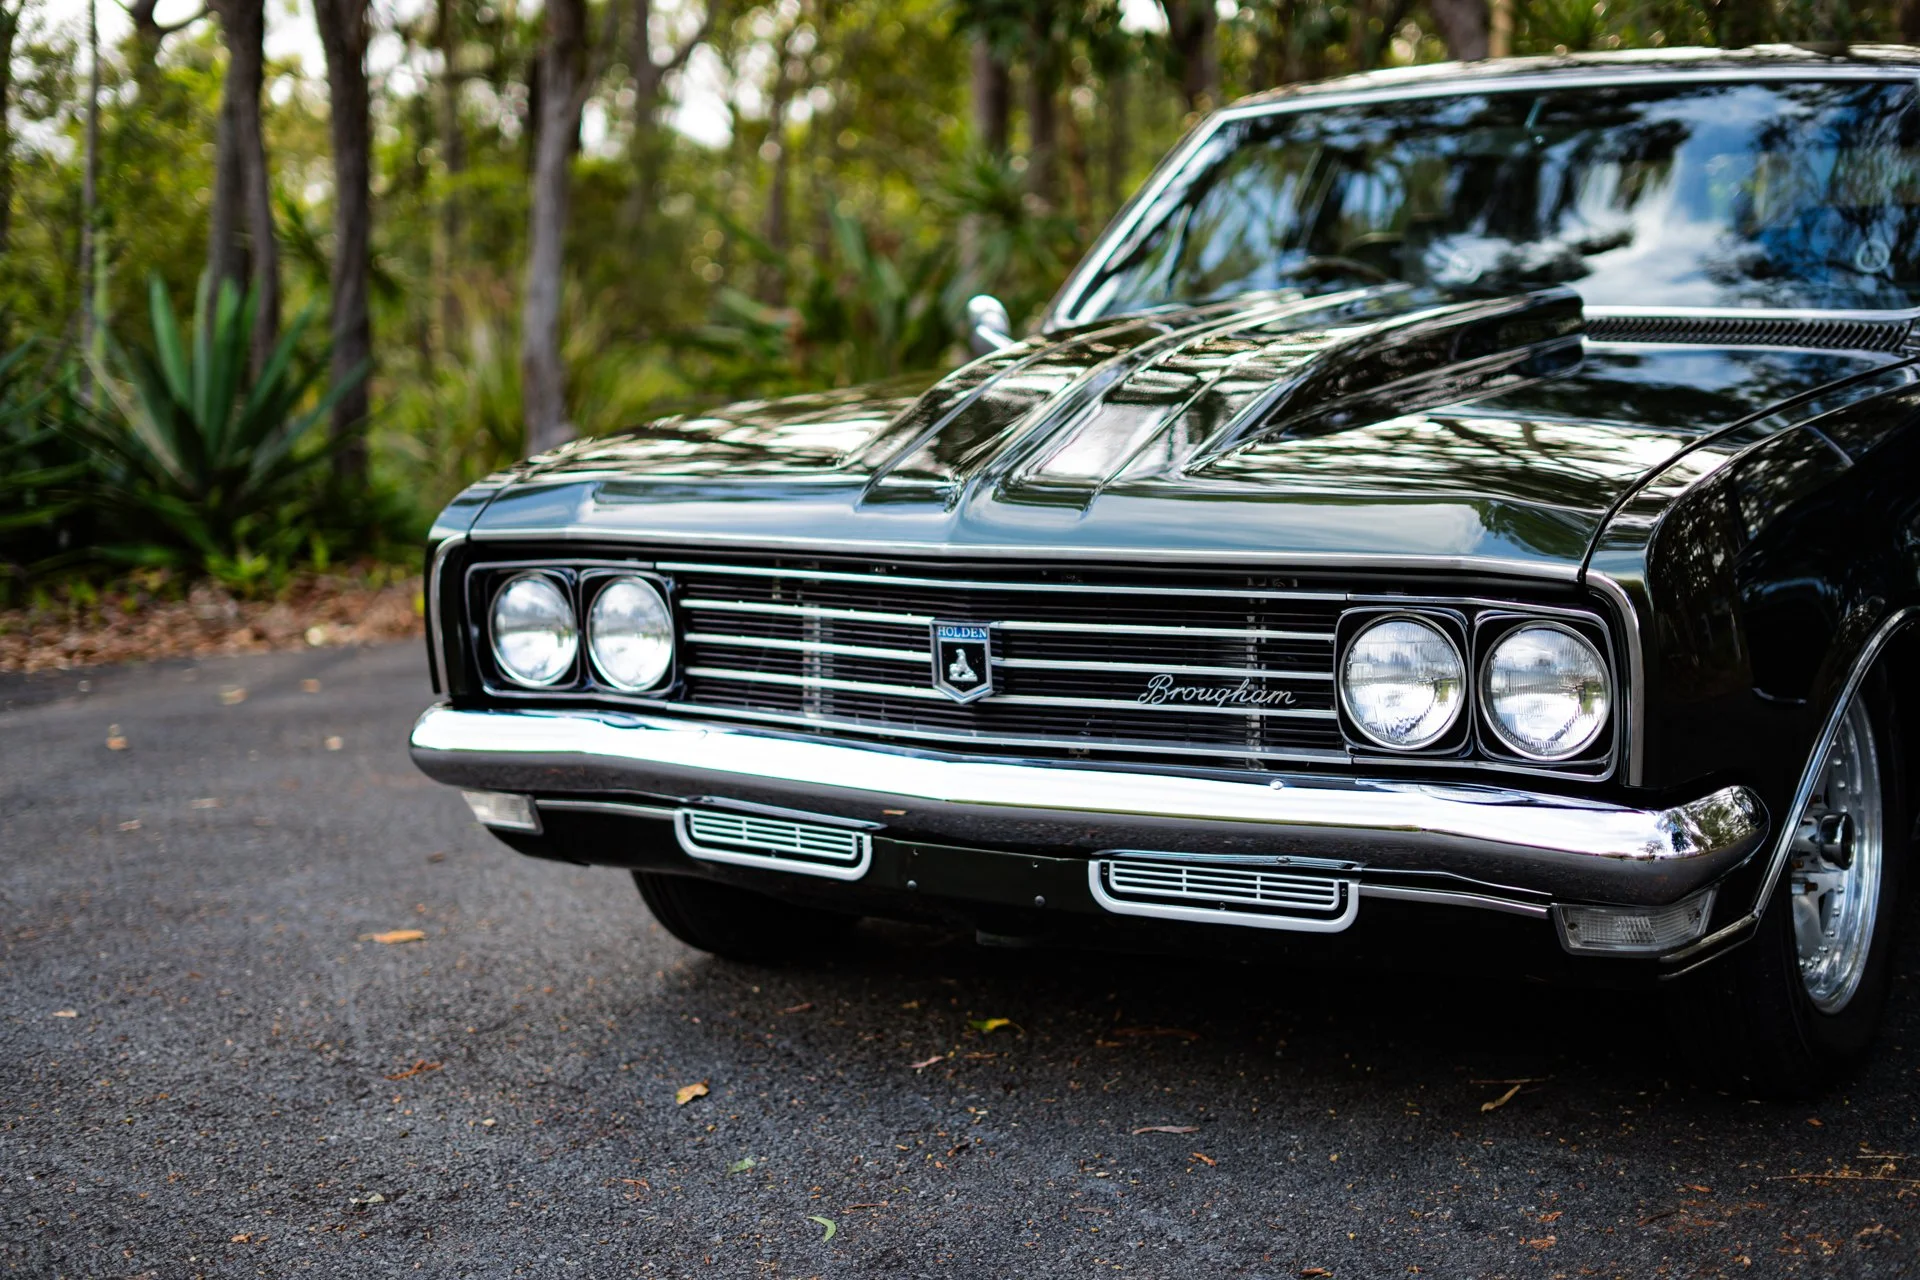


A Cut Above
Where to begin on this build.. what started as some very basic ideas quickly turned into a wild recreation of factory trim that oozed the class factory skimped on back in the day. Real woodgrain inserts throughout, custom machined aluminum trims to replicate body lines, double bucketed bench seats in leather and Alcantara with all the creature comforts of a modern car. We really enjoyed bringing this idea to life and the final finish is nothing short of absolutely stunning (at least we think so anyway). We’ve upset some purists with it on our Youtube claiming its better than OEM but we think it is!

All the hours you don’t see..
I’m not going to sugar coat it, this build was such a headache at times! We had so many factors out of our control to work around it wasn’t funny. Electronic E-Brake mounted on top of the tunnel, wheel tubs just shy of the door jams and a rear diff hump that was forward and angled in such a way we had to split the rear cushion frame through the middle!
Rather then talk you through these escapades, here’s some photos that should shed some light on just how much goes on before frames even see foams!

Check out the size and location of the shifter on factory seat.. we had to chop the whole center out to even sit it in there.

Not just the shifter location, but we had this Electronic handbrake to contend with on top of an already larger tunnel.

Truck loads of tinkering/welding and Fabrication later.. we have a shell of the seat to come! Noticed the false tunnel to hide the handbrake and re-inforced seat structures scattered around.

Some shots of the rear

Roughed out silhouette of the rear squab to suit around the tubs

Fresh back from powdercoat and ready to start thinking about foam!
Definitely becomes a snowball effect on the interior when every section minus the dash and roof has been modified! We love a challenge however so it was definitely a fun one to make happen.
From here it was finally time for the foam shaping.. Still loads of hours to go but i’ll share some more photos of the process.

Loads and loads of shape in these. Each carved and shaped identical to ensure the patterns are reversable and also easier to pattern/sew/fit.

Rear seat getting the same treatment. Very little roof left for foam after those tubs but we made it happen!

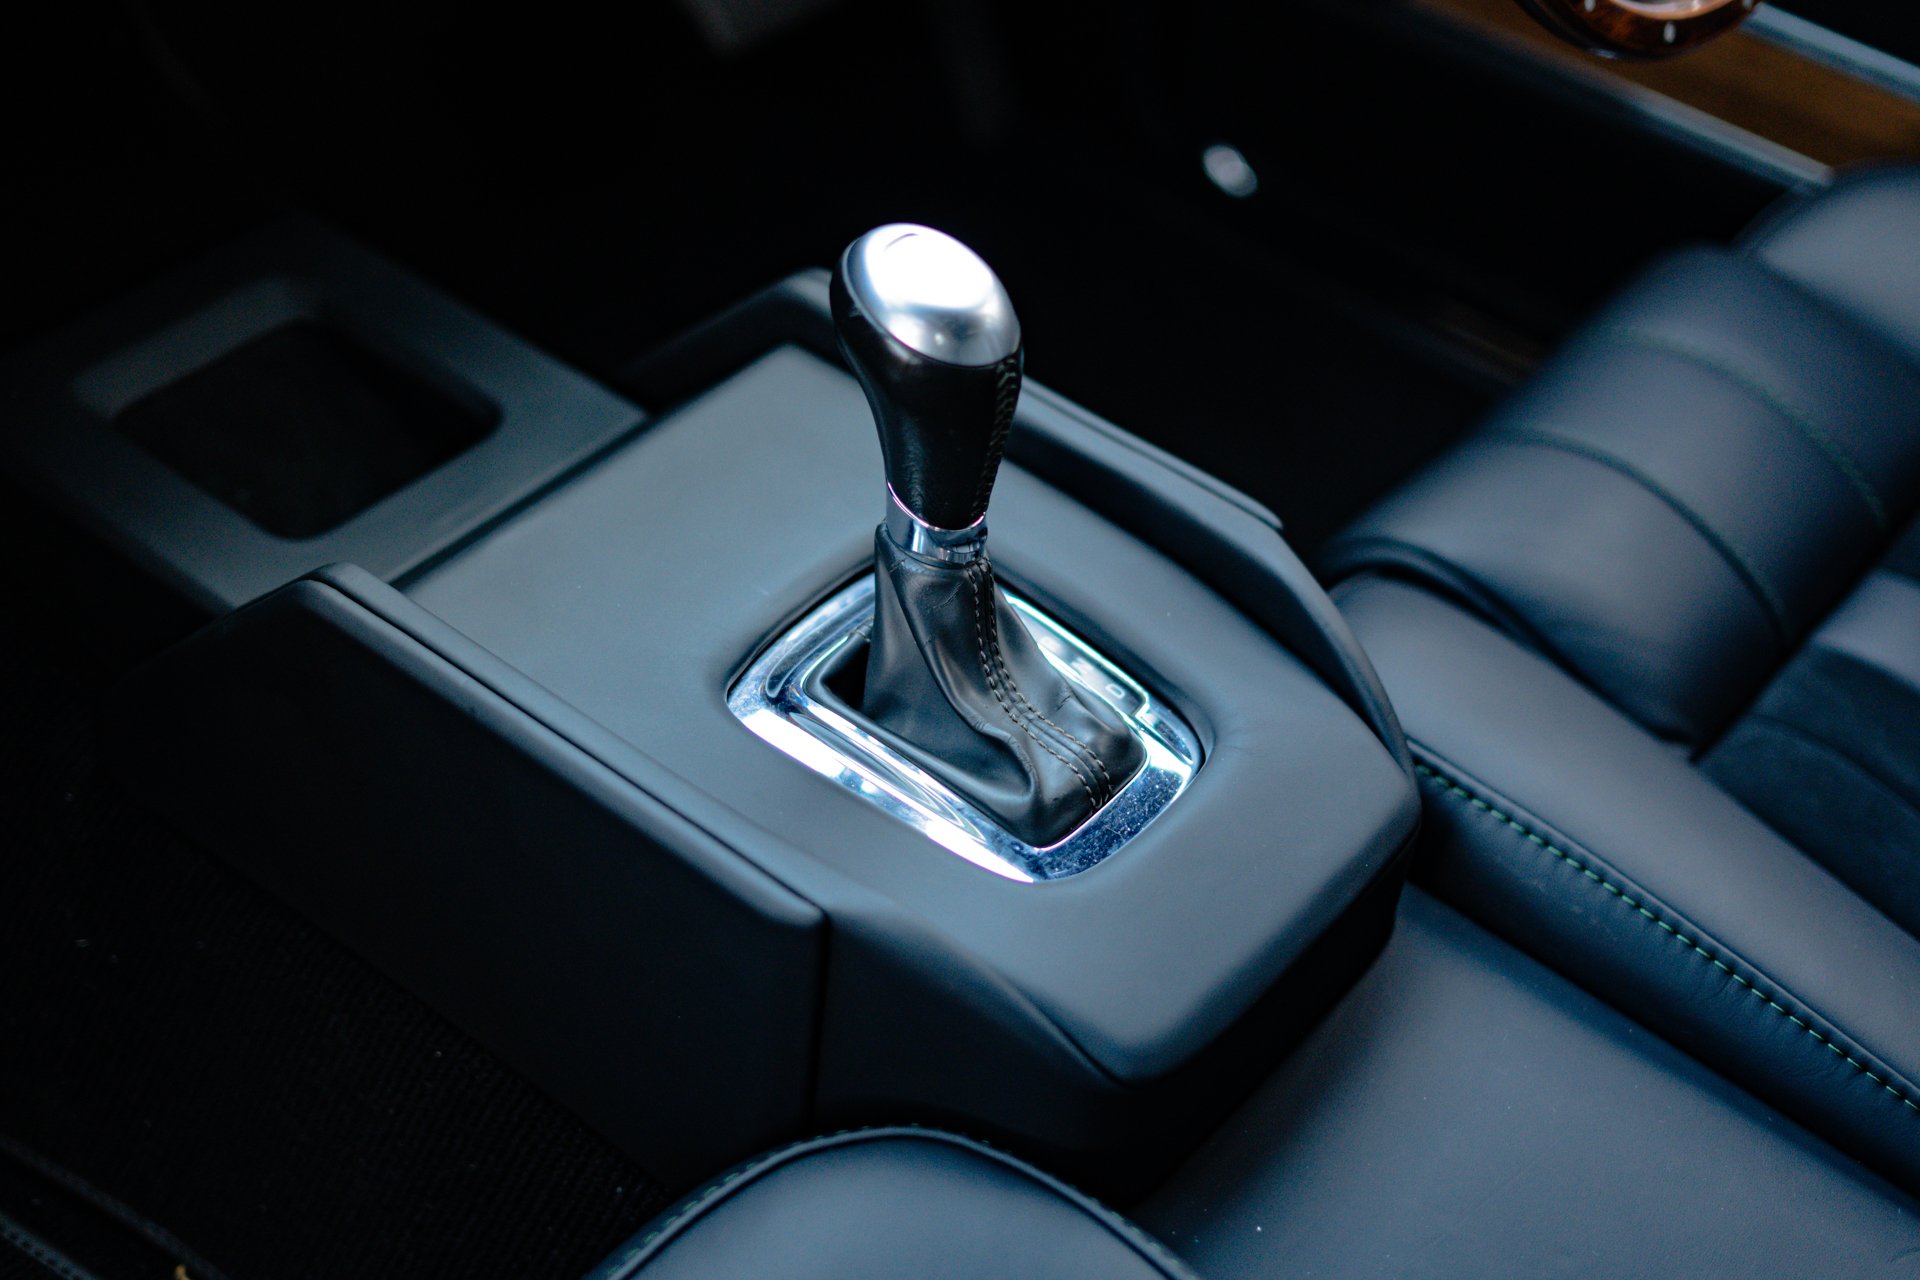
Tight tolerances all round here. We usually have to dummy up all aspects of these areas just to make sure everything will work together well and not bind. The silhouette of the shifter is mocked up alongside the foam to check we’re all going to fit together well once completed.

Plenty of in and out, check/recheck, sand and sand again to get the fit juuuuust right

More shaping..

Quick test fit in the sun to see the form of it.. so far so good!


From there, it was all highly technical and top secret upholsterer business! Not really, just alot of templating, cutting and sewing before we finally got to fit it all up!


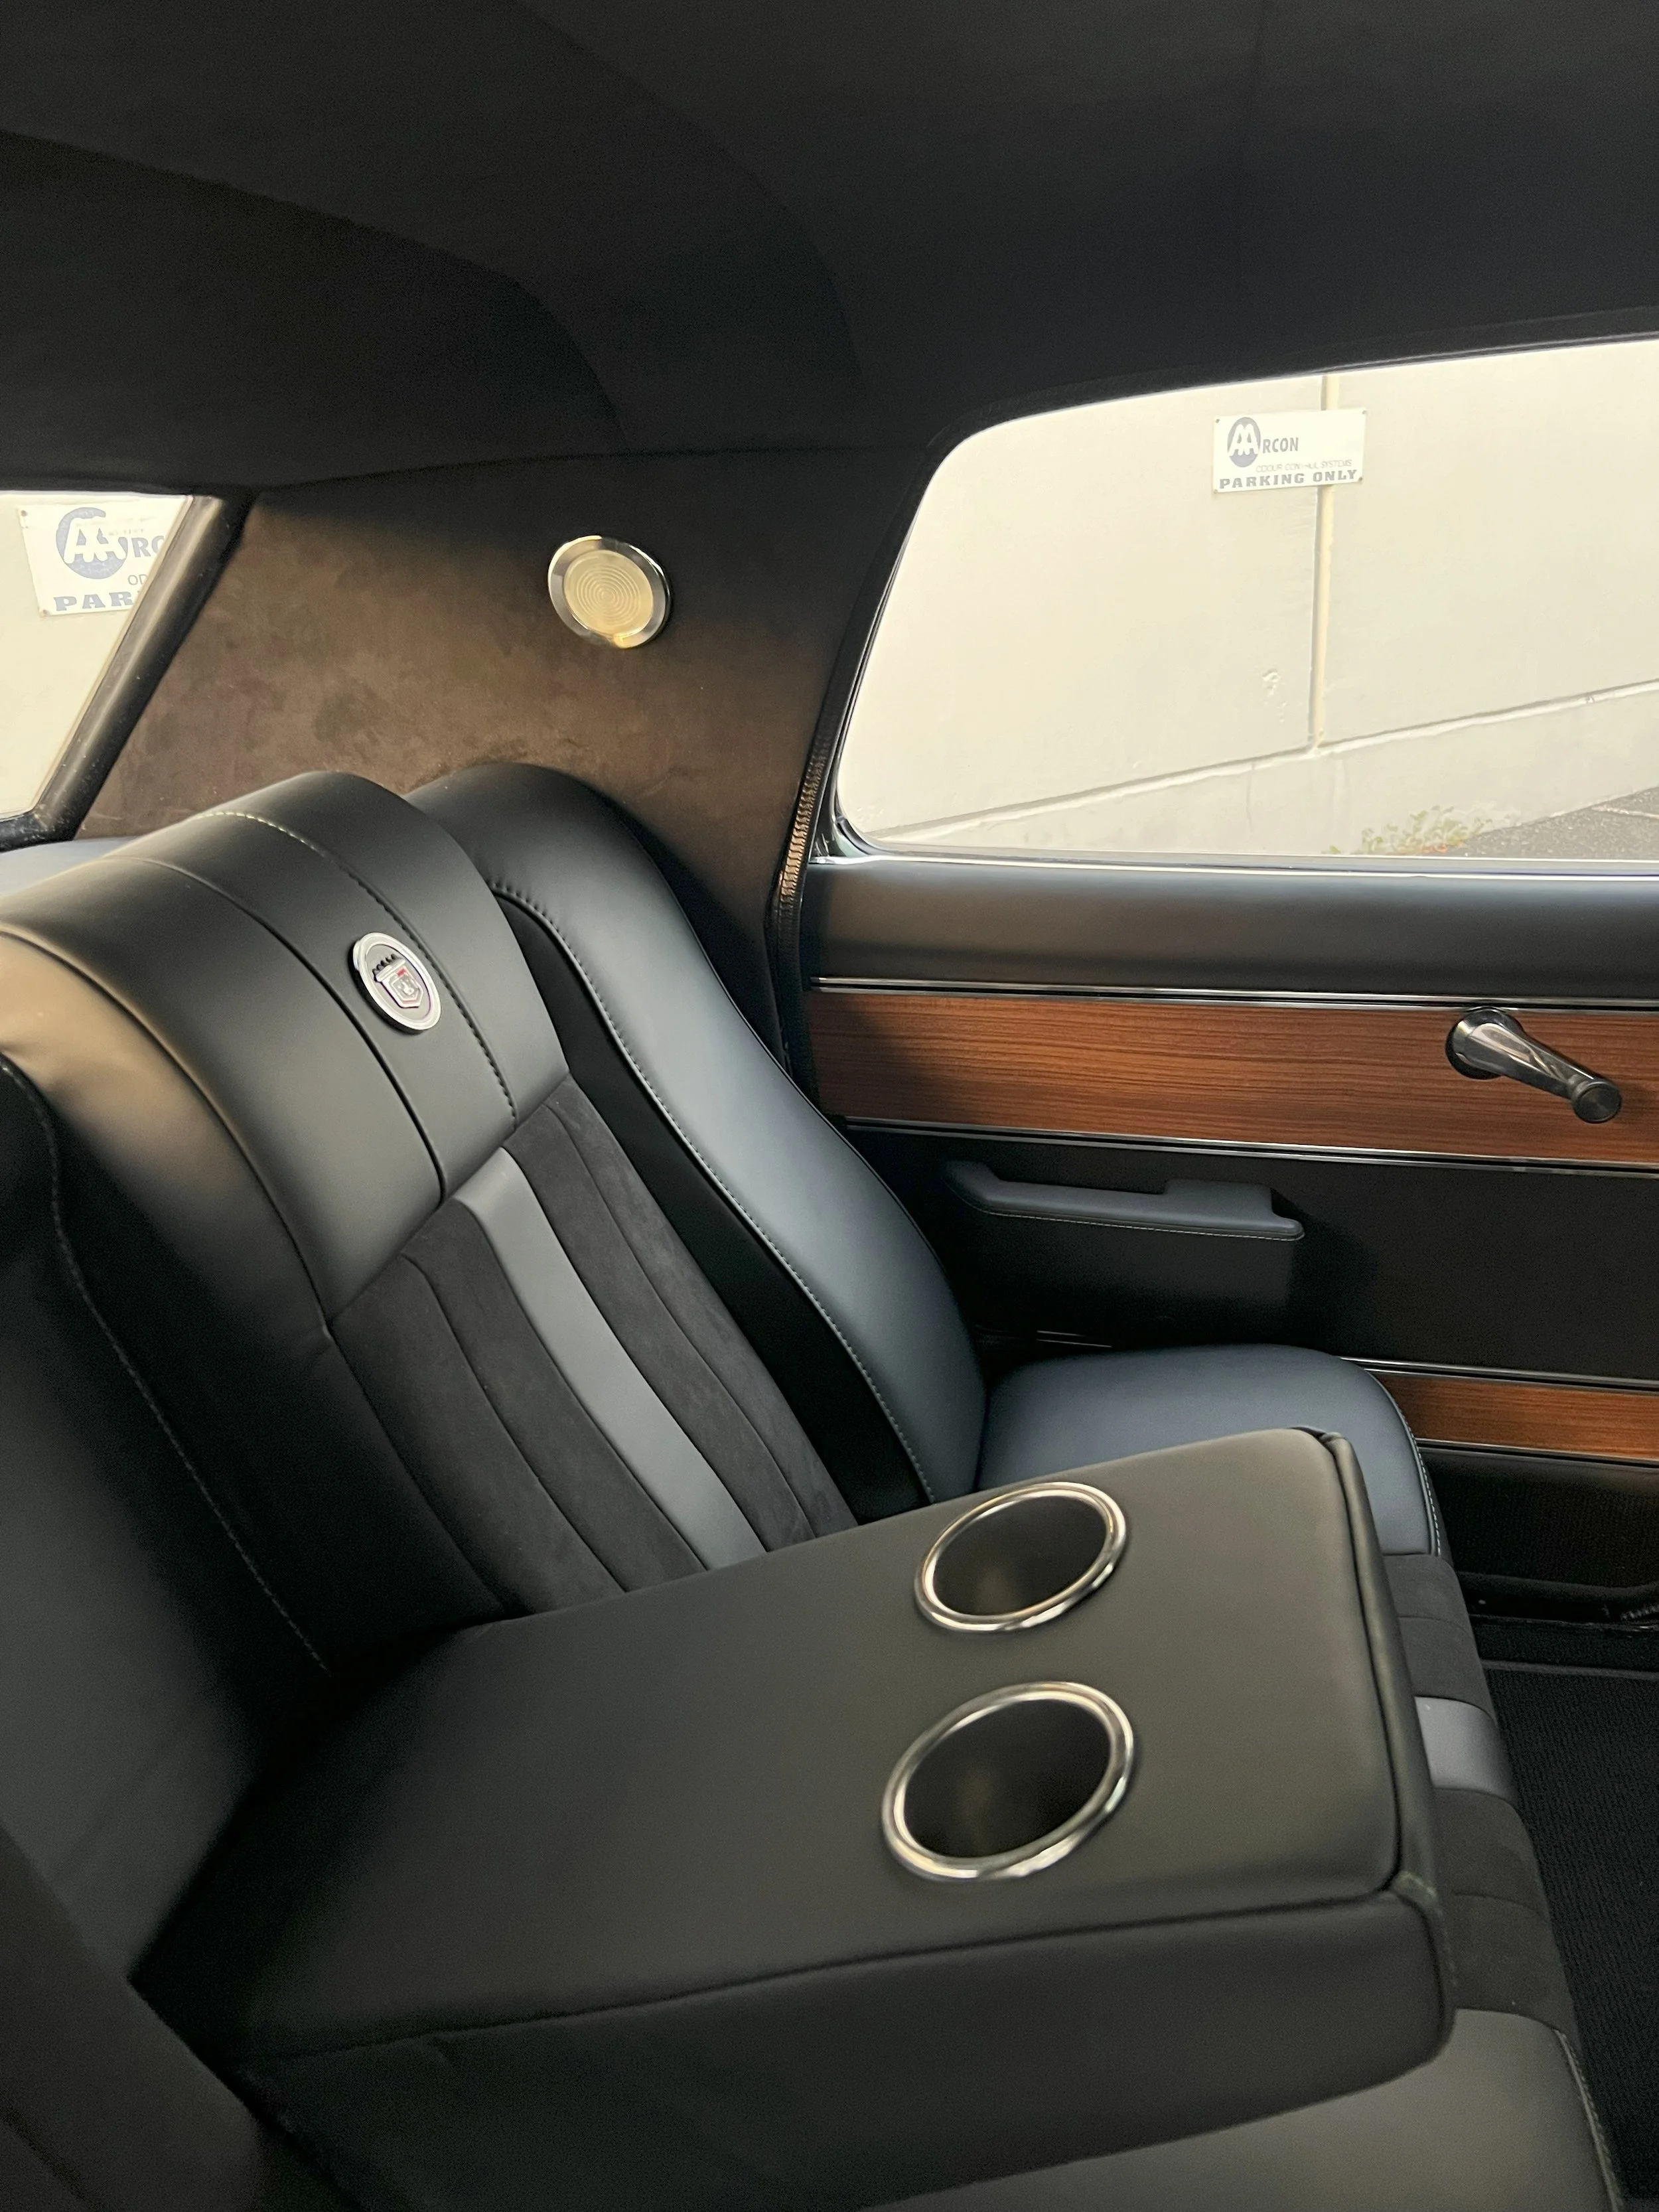

Throne fit for a king
And just like that, it was wrapped up and re-installed. Wild to think all that work behind the scenes and it simply looks like we’ve reworked the foam and thrown an new cover on it! That’s really the point of posts and write ups such as these.. to show the true depth these builds require and the hours and hours it takes to achieve.

As for the rest of the build..
Well as you could imagine.. we had to deliver the same level of finish throughout. As i mention in the Youtube video, i could ramble on for hours about this build, but i won’t gnaw your ear off. Here’s some more insight into the rest of the build, a few basic captions to share the process and of course some pretty pics of the finish result! Enjoy.
The Doors
These were the next big ticket item I was excited about on this build. A nod to factory design, subtly tweaked to deliver a true one off product that still oozes grandeur and class. Scroll through some of the steps and see these doors come to life.

Polycarbonate plastic door trimmed and a rough sketch layed out

Ensuring our lines are spot on throughout

Quick trip to a buddys custom bike shop to steal his mill for about 13 meters of channelling across the 4 doors!

Quick test fit.. Very very excited at this point


What a finish
I’m definitely biased in my opinion but man was I happy with how well these doors came together. What a great combination. On paper, there’s ALOT going on in these doors.. Custom machined aluminum, green stitching, nappa leather, Alcantara suede, Brougham badge and square weave carpet but the black and the subtle contrasts seamlessly blends it all in so well.
With another key piece to this sorted, we moved our attention to the last few pieces to finish off this already extensive rework.
Last Few Touches
Speakers and a decent modern headunit have always been a battle to cram into these classics. Without, of course, destroying the charm of an old interior. We always jump at the chance to hide them and this build was no different. With some handy craftsmanship, we think we were able to deliver a fairly decent fix for the problem.
Speakers were hidden in the kickpanels and parcel shelf with some custom surrounds and finally covered in a black speaker cloth. They’re definitely not invisible, but they do deliver a clean and tidy appearance so not to draw the graze to the ugly factory speaker covers most come with.


Making the modern touches work
Usually, with pieces so modern, i’m quick to try hide them or subtly draw the eye away from them. Usually works best as they do ruin a classic aesthetic in my eye. This time, I couldn’t escape them so I opted for a different approach.
With these nice chrome bezels and surrounds from factory, we decided to run with those surrounds and shapes and simply integrate the clusters and facias to the design. It meant fully redesigning the clusters in Fusion, 3D printing them, plastic chroming, painting and finally applying teak veneer to finish it all off. It was a grueling process.. loads of trades involved and was the last pieces to be finished on the car. Was it worth it? Absolutely. Here’s the results:


Rounding out
I think by now, you’re getting a pretty good idea at just how extensive this build was. The hours and hours we poured into making this sketch a reality. I’m over the moon with the results. Truly a build i’d love to have owned myself! But alas we have to let it go back to the owner to enjoy!//you
I hope you enjoyed the write up and if you don’t think you’ve had your fix yet, head over to the Youtube to see some of our other builds or even browse the website for the write ups!
Thanks for reading along!